The map Mirage has been extremely popular with players since it first appeared. Neither regular matchmaking nor Majors can now be imagined without it! CS.MONEY here to talk about the key grenades that fans need to play this map.
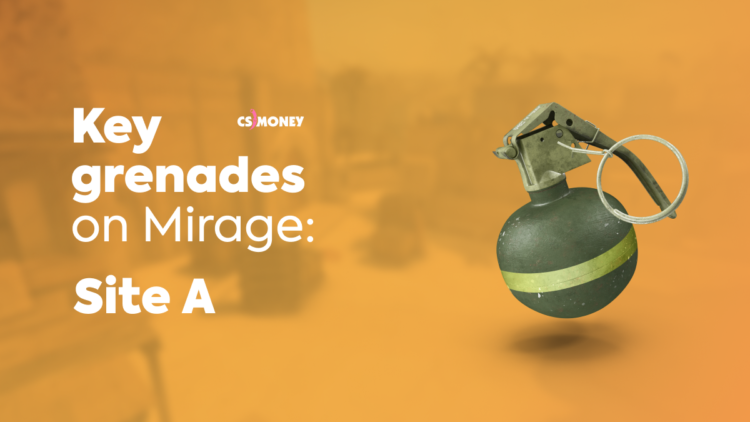
Before you start learning the nade throws, consider familiarizing yourself with our guide on the mechanics of grenade throws. It’s small, but it’ll help you a great deal in mastering the following throws. All of the presented nades work with tickrate values 64 and 128, but in some cases, minor changes are possible that don’t affect the result.
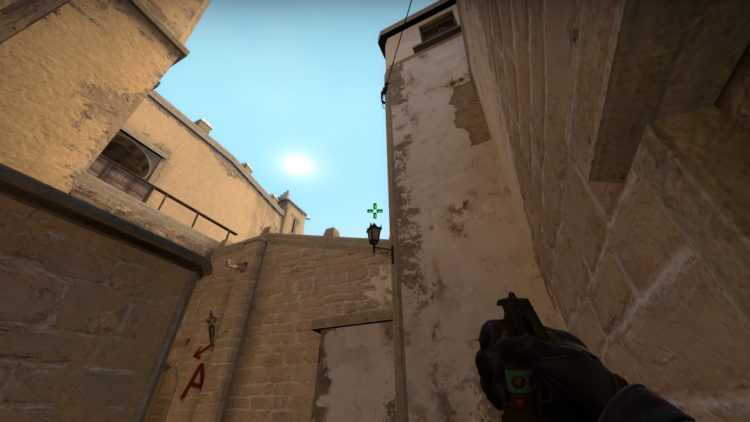
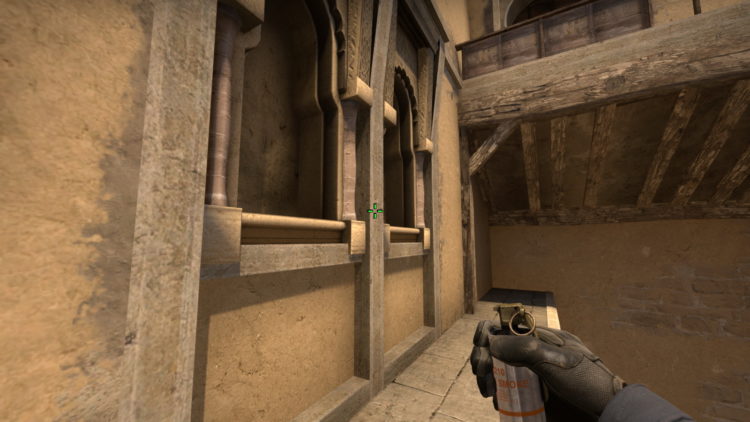
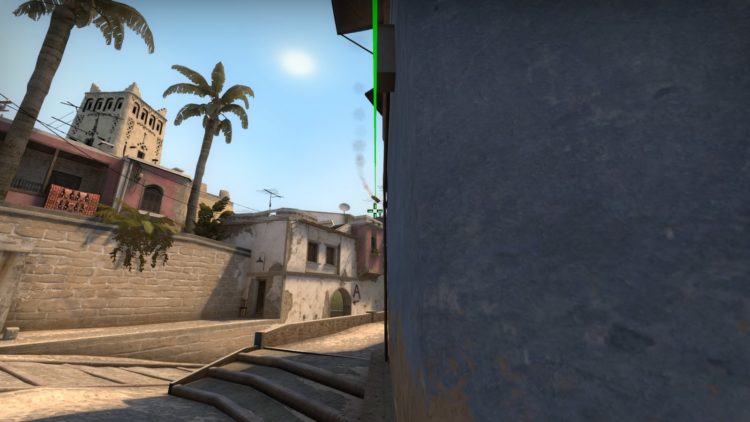
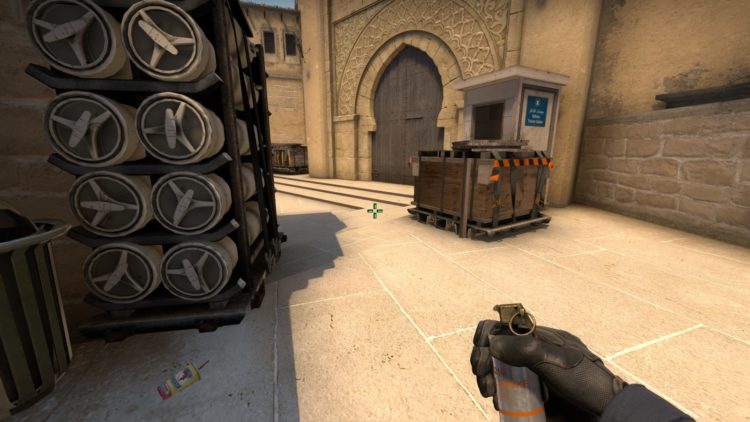
Let’s start with the basic flash to use when entering A Site. Since the attack usually goes through the ramp, the following flash can be used for supporting your teammates. To execute it correctly, just stand at the center of the door and aim above the flashlight. After that, perform the usual throw.
The flashbang will fly over the wall and explode right above the exit from the ramp. Because of this, the defense in close positions will be completely blinded, with all the attackers still able to see.
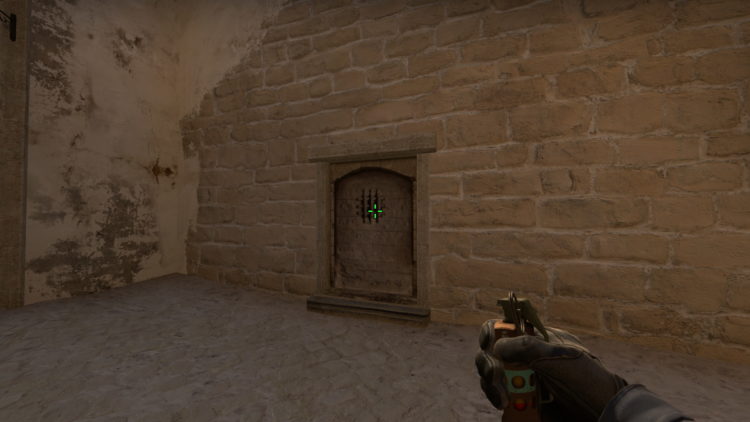
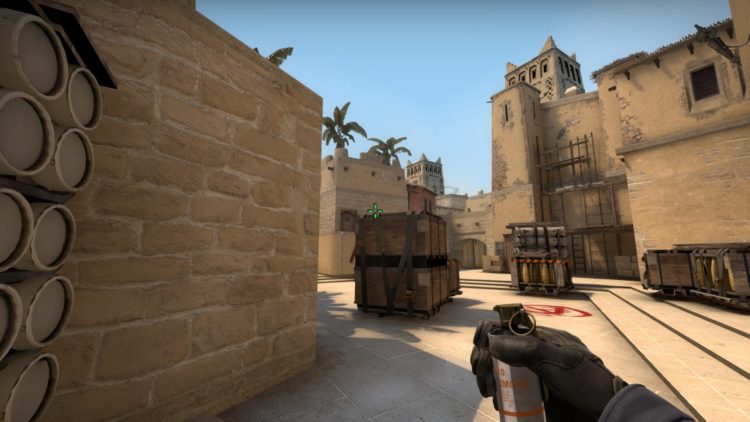
If you want to blind the enemy at the very A Site, you can throw a flash while jumping from the corner next to the door. It flies farther and blinds more positions — but it can also affect your teammates. So they should definitely be warned about the throw.
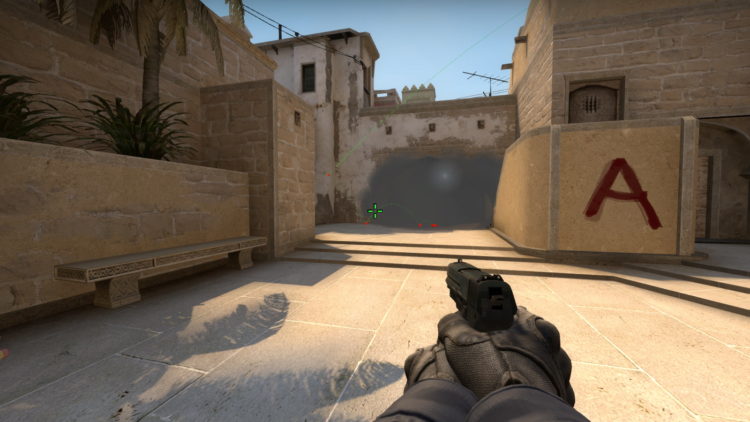
From the same corner, you can also throw a smoke at the pass from the defense spawn side. Stand near the corner, aim at the wooden beam, and perform a jump throw. On servers with different tickrate values, the result’ll be somewhat different, but in both cases, the smoke cloud will block the view, with no gaps left.
When entering A Site, it’s critical to cut off the defense players from the center of the map: the connector, the stairs, and the sniper’s window. You’ll have to use two grenades to this end. Luckily, both are simple enough.
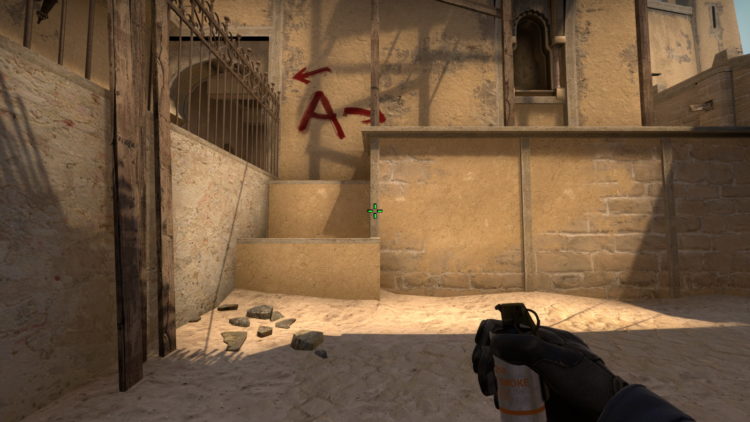
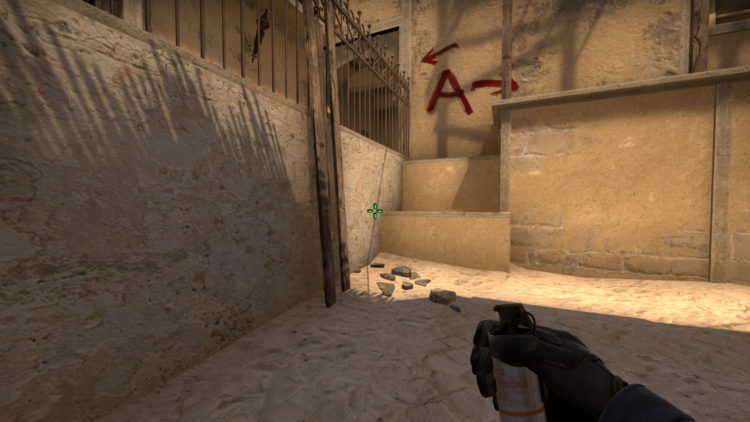
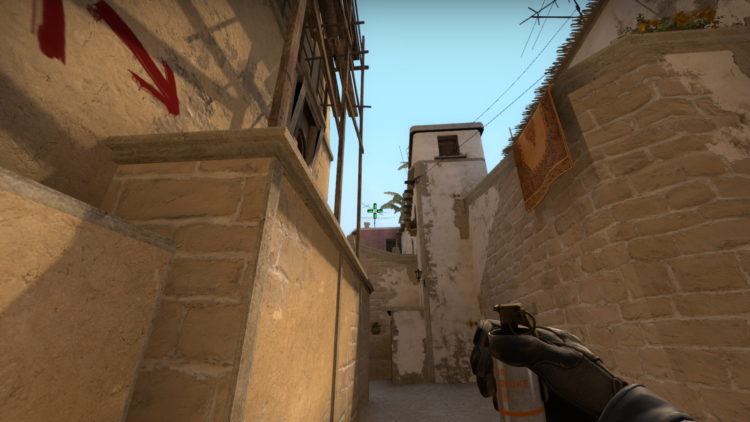
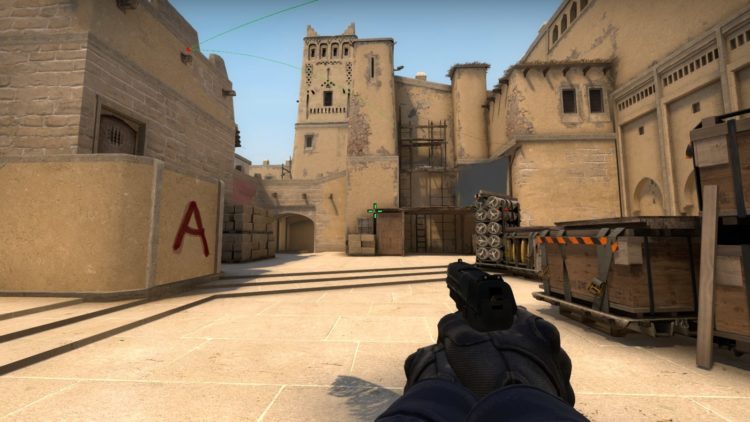
To cover the platform at the top of the stairs in smoke, just stand on the small step near the scaffolding at the attack base, aim at the vacant area near the wall, and make the usual throw. The grenade will fly over the wall, land right in the center of the platform, and reliably cover the position in smoke.
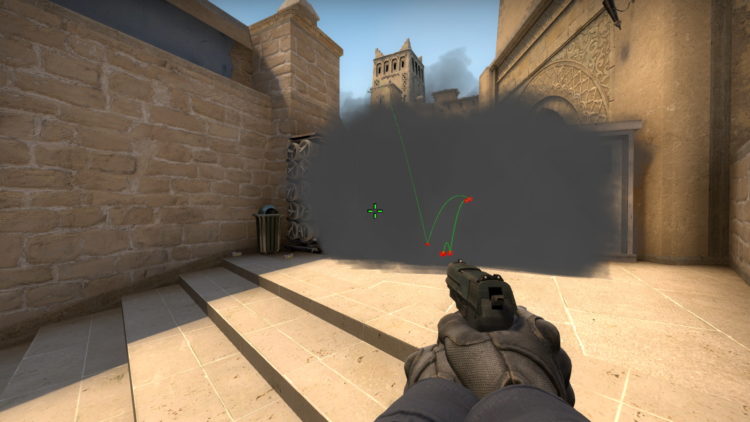
In addition to the aforementioned nade, you should use the following smoke, which completely covers the space between the stairs and the wall opposite. To perform it, climb on the platform opposite the frame, aim slightly to the left of the ledge on the wall, and make the usual throw. The smoke bomb will hit the wall, land in the center of the passageway, and provide a complete cover.
If there’s no possibility to throw two grenades, you can make do with just one, which’ll cut passage through the connector yet won’t make shooting at the enemies on the patch near the exit difficult.
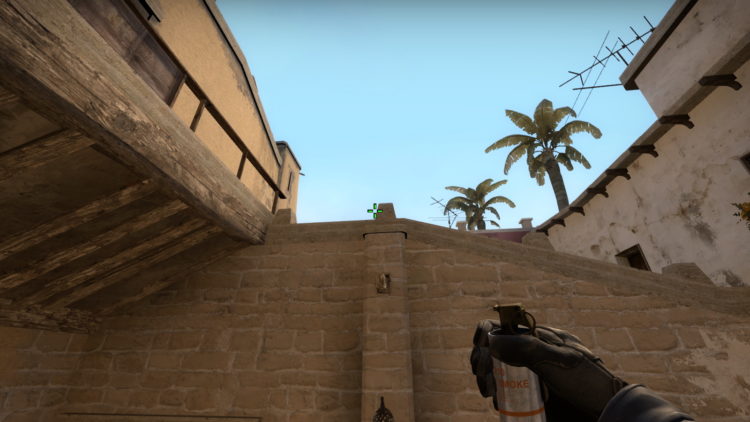
Performing it is child’s play. Stand near the wall without climbing the step and aim at the antenna. After that, make jump throw. The grenade will fly over the entire A Site, bounce off the wall, and land in front of the connector exit.
Another key attack grenade will help occupy mid. At the pro level, a smoke is used for this purpose, but those throws are quite difficult to reproduce. Throwing the following Molotov is much easier.
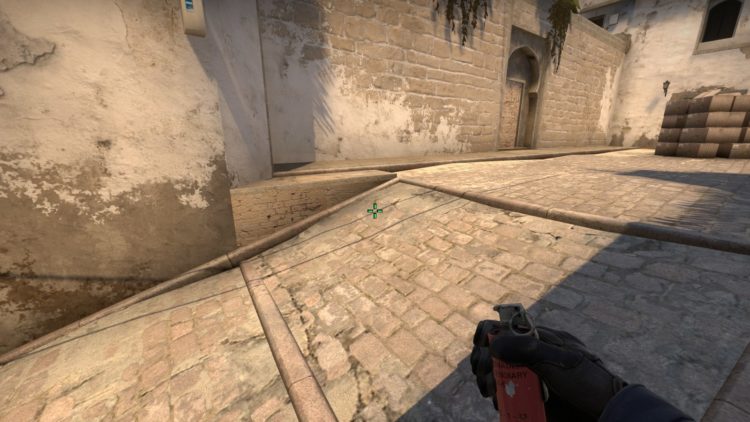
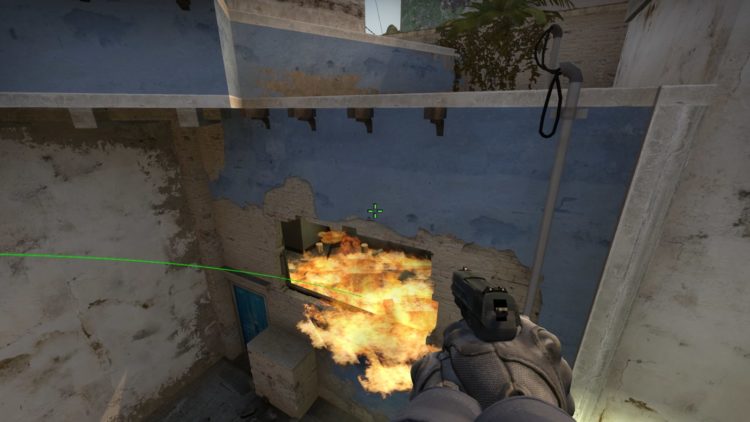
Stand against a ledge in the passageway to mid. To be more precise, stand against the wall so that you can see the chimney. Then, aim at the upper left corner of the shield on the wall. To make the correct throw, you should run almost up to the small ledge under the shield and only then make the throw.
If thrown correctly, the nade will bounce off the wall and set fire to the room with the window where a sniper often resides. The bonus of this Molotov is that it goes perfectly with the “start” smoke.
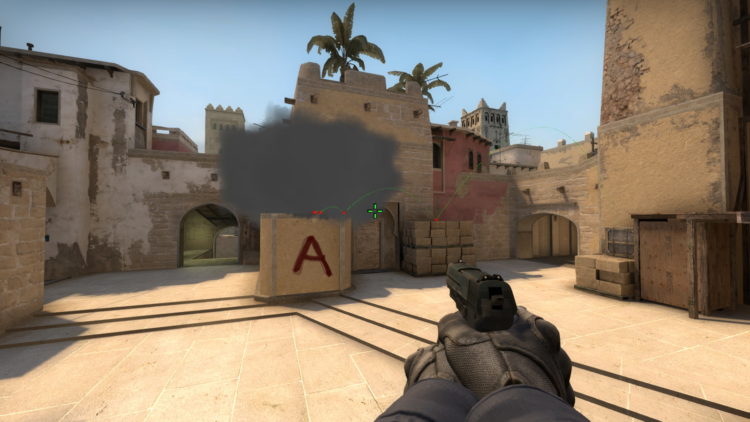
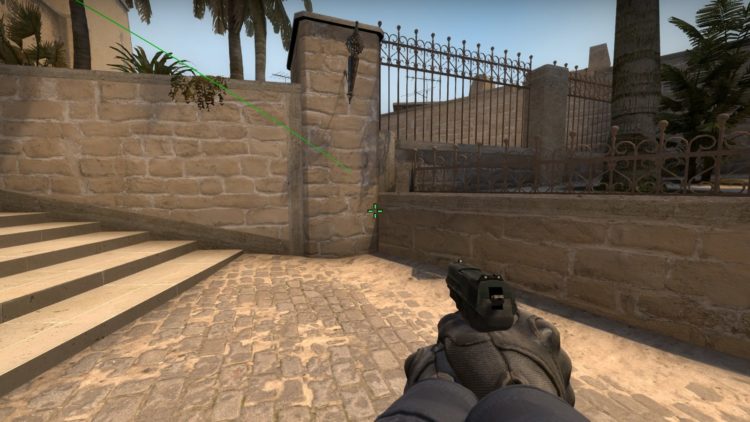
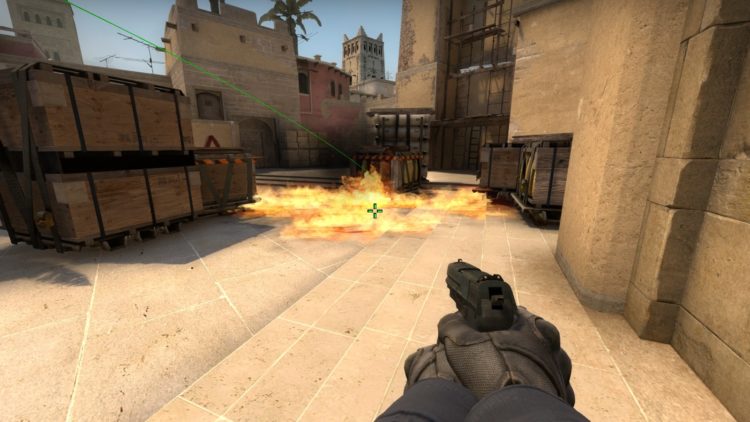
There are few non-obvious defense nades to play at this site. We’ll only list the two most important ones. The first is the Molotov which’ll delay C4 plant in a closed position. It’ll be useful for players on the ticket booth. After the attack blocks the view at the passage to the defense base, move back and aim at the ledge on the wall. A regular throw — and the center of A Site will be enveloped in flames.
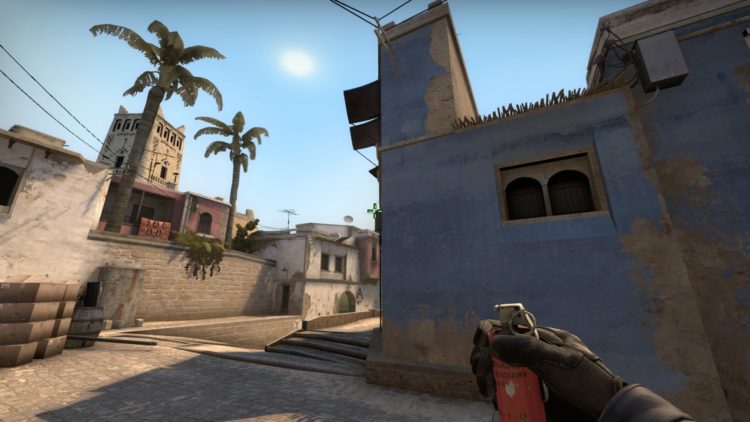
The next smoke is thrown from about the same position. To perform it, turn at the ticket booth and aim at the top edge of the box, aligning the sight with the beam on the wall. After that, make a jump throw on the run.
This is a difficult nade to throw, so it must be practiced. If thrown correctly though, the smoke will fly into the exit from the apartment to A and slow down the attack’s rush, allowing you to focus on the ramp.
And what grenades do you use when rushing or protecting A on this map?
